Heads Up: You Can Finally Delete Those Annoying Built-In Apps From Your iPhone
by mathew_jedeikin, 8 years ago |
2 min read
Seriously, Apple, why did this take so long?
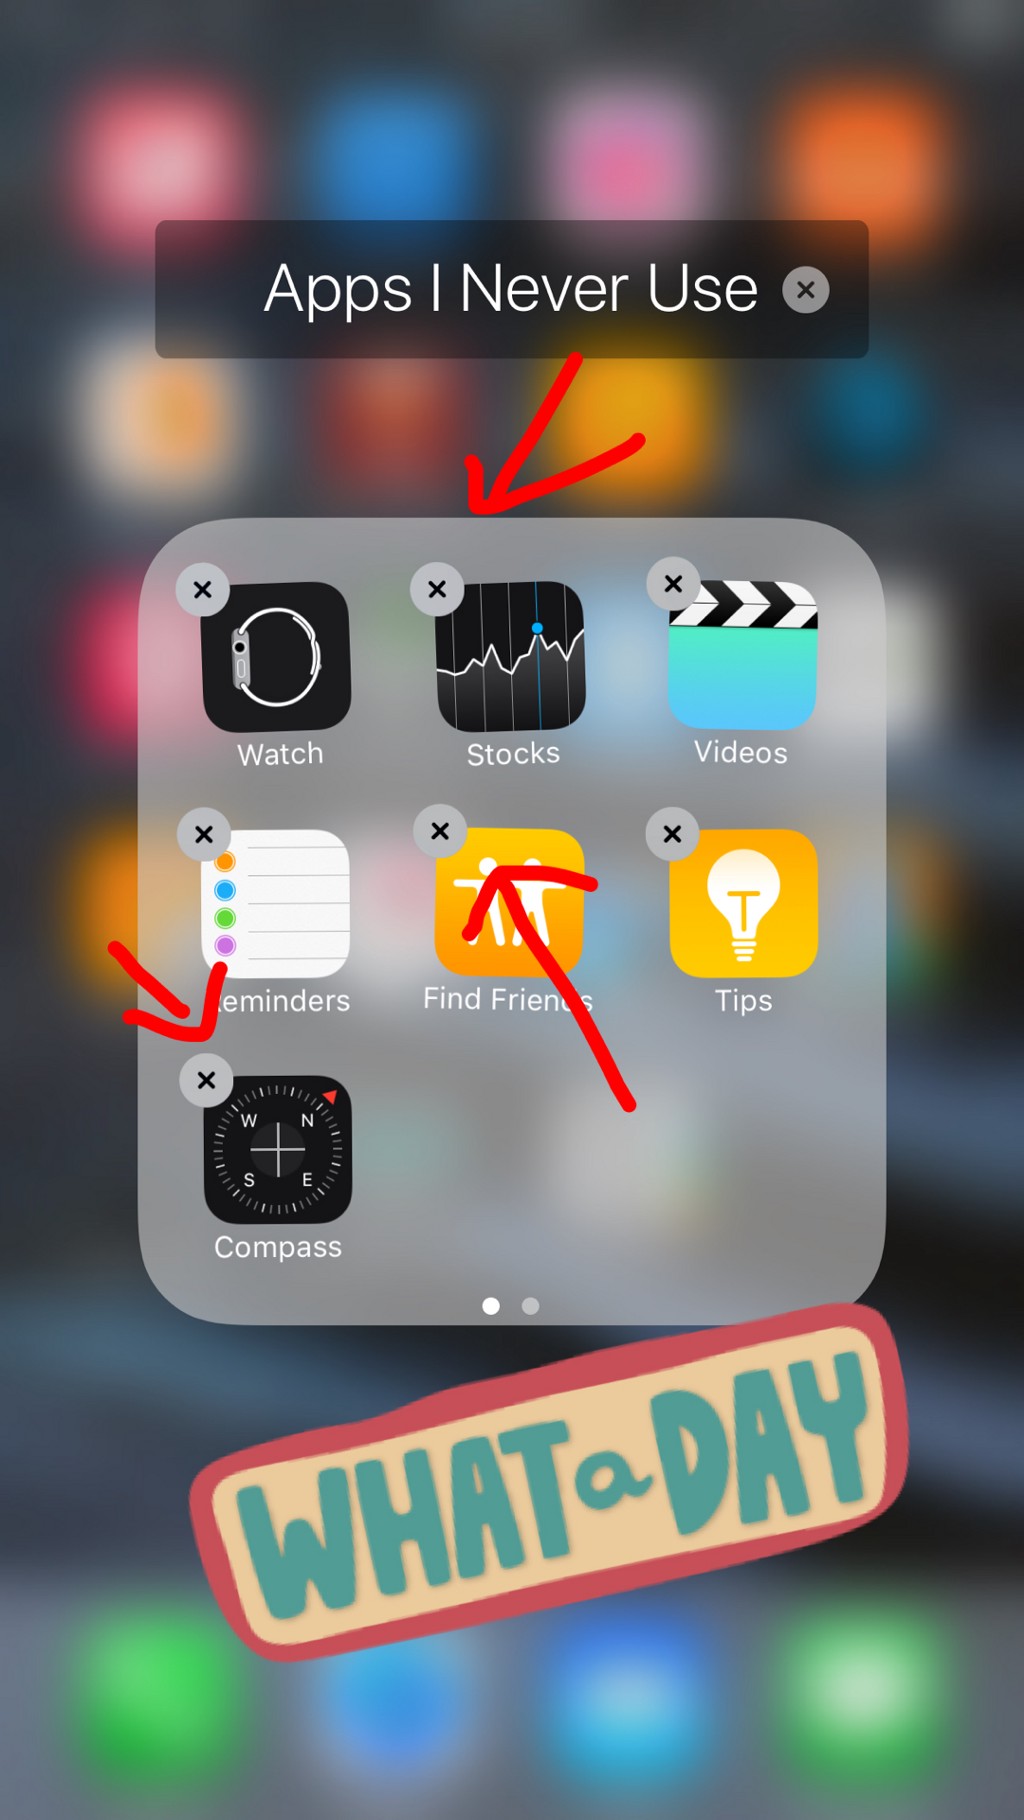
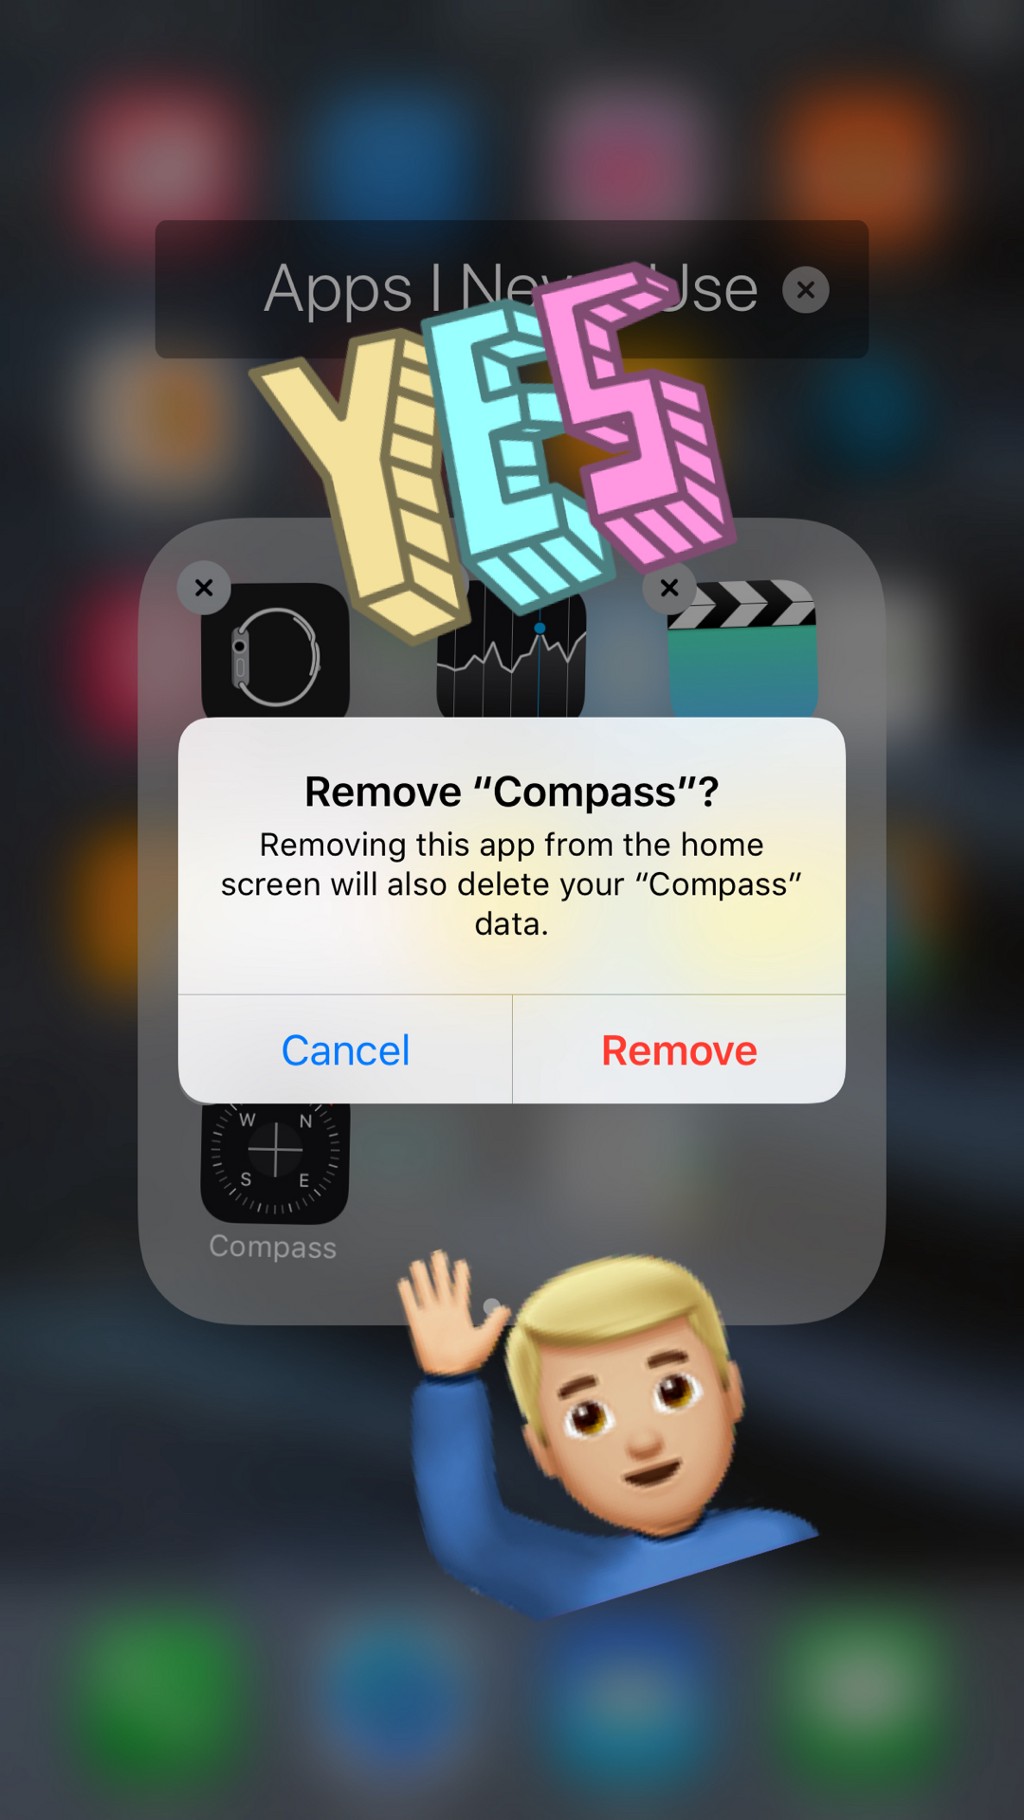
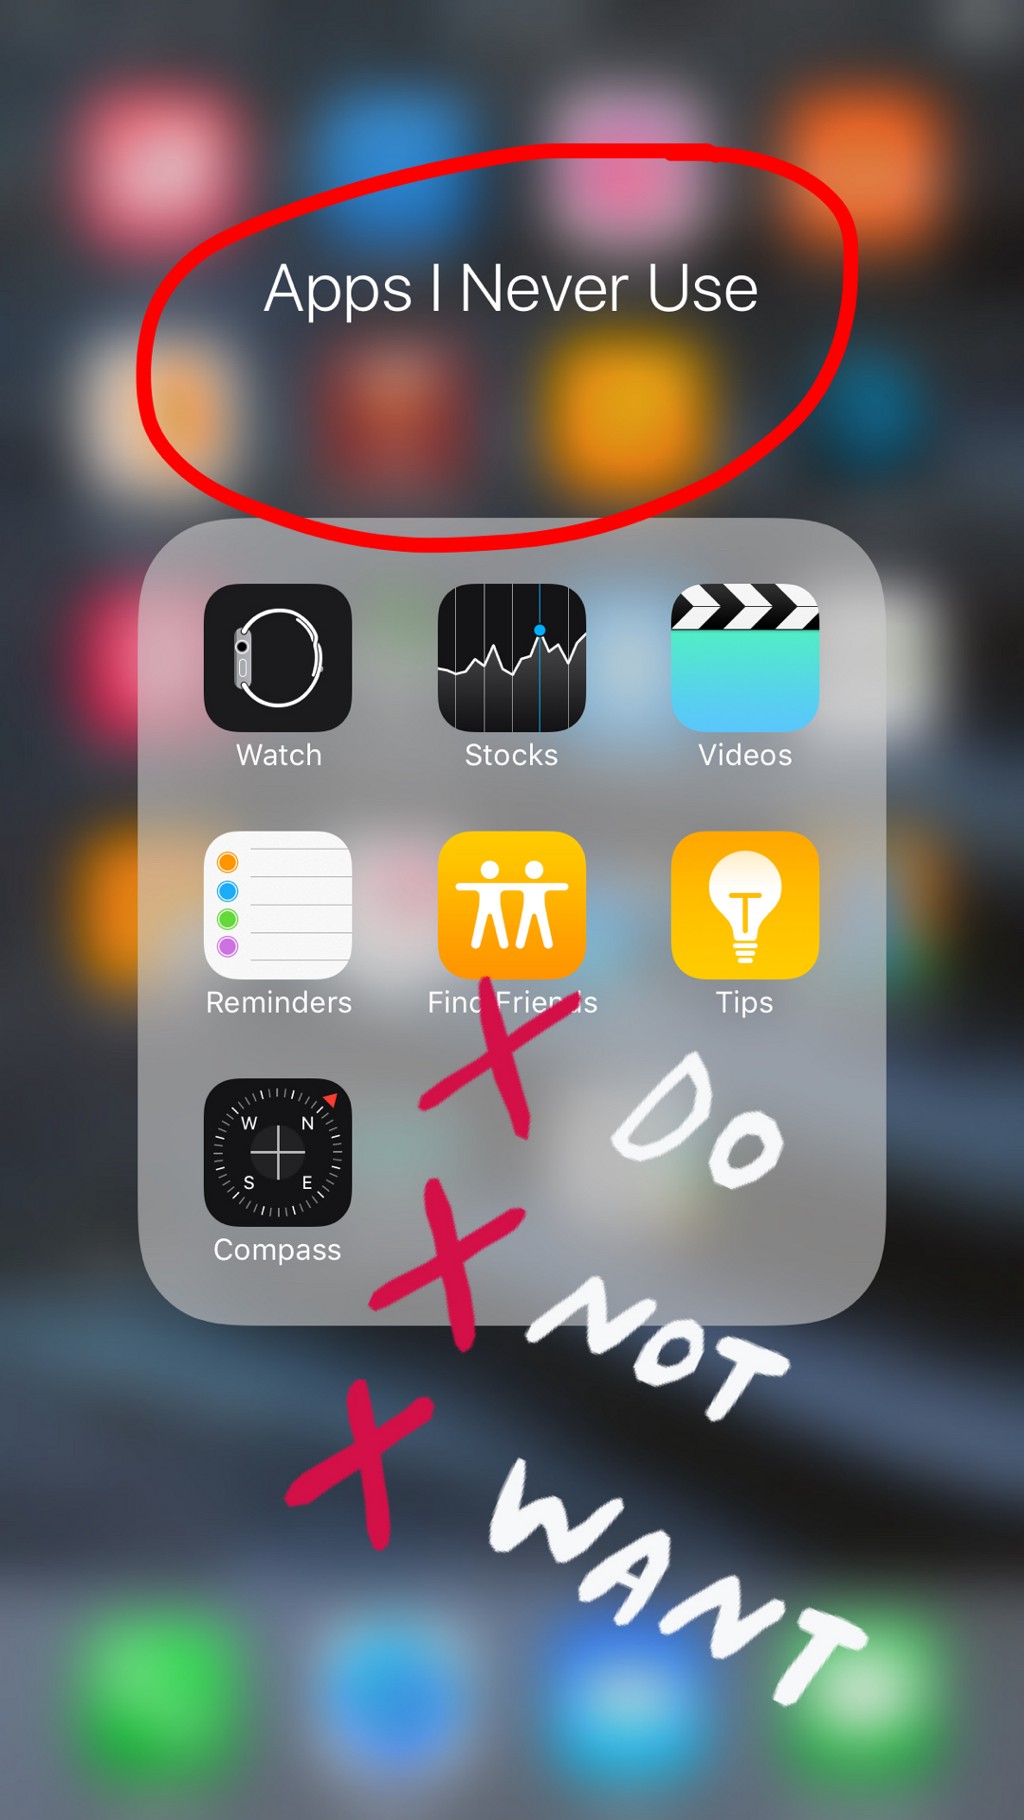
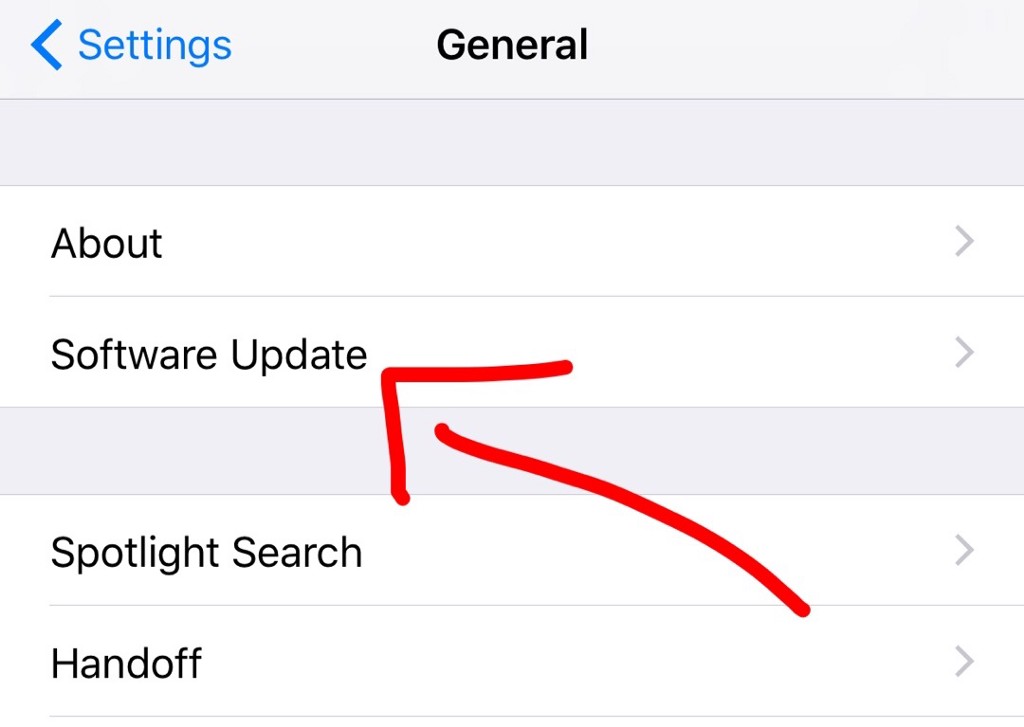
Raise your hand if you use the Stocks app. Probably not, right? I mean, who does?! If you’re like me, you’ve probably got the Stocks app, along with other formerly un-deletable apps, hidden away in a folder. Guess what? If you update to iOS 10, then not only will you get a bunch of new emojis, but you’ll also finally be able to delete those pesky built-in apps…you know, like Stocks, Watch (some of us don’t have Apple Watches), Compass, News, etc. Here’s how you do it: First, before you update to iOS 10, it’s always a good idea to back up your phone. I’ll be honest, I totally didn’t back up mine before updating, but I live dangerously like that. But if you’re worried about the possibility of losing anything on your phone, you’ll want to go to Settings > iCloud > Backup. Next, to download and install iOS 10, go to Settings > General, then click “Software Update” and proceed to—you guessed it—download and install. It’ll take a couple of minutes, then your phone will restart and bam… iOS 10! After updating, you’ll be able to delete those annoying apps just like you would any other app. Press and hold any app icon until it starts to jiggle. Then, simply hit the X button in the corner of the app you want to get rid of. Finally, tap “Remove” when the prompt appears. Bye, Compass app I’ve literally never opened before! Here’s the full list of 23 built-in apps that can now be deleted. Worried about removing an app and later regretting it? Don’t be. You’ve always got the option to re-add a previously removed app from the App Store. Now, keep in mind there are a few other technicalities you might want to know about. Like, the fact that if you delete the Contacts app, all your contact information will still remain in the Phone app. Or that if you remove the Calculator app, a calculator won’t appear in Control Center. If you want to read up on all the deets, check out this Apple Support article.✕
Do not show me this again